It is not always adequate to model chemistries within a "brick". To address the most general case, we must map analyte (e.g. chemistry) into geologic structures. Krig_3D_Geology is the primary module for creating three-dimensional models of geologic structures. We will now add it to the network in order to remap the analyte (e.g. chemistry) data to a grid which is separated into geologic layers. Modify your network to match the one below by adding Krig_3D_Geology and deleting post_samples:
Select the Krig_3D_Geology main menu. Click on the Read DataFile button and choose the file as shown below.

Select the Accept Current Values button and Krig_3D_Geology reads the geology data and begins the kriging process. In less than one minute, it calculates the surfaces for the grid we selected. These are passed to Krig_3D, which automatically re-runs having detected geologic input and since it already has a data file.
Krig_3D will rerun, but this time, the grid to which the parameters are estimated will be defined by the convex hull of the geology file (in the x-y plane) and by the geologic layers in the z direction. Remember that the convex hull is only one of three options for the extents in the x-y plane. After a few seconds (or more with slower computers), the kriging calculations should be complete.
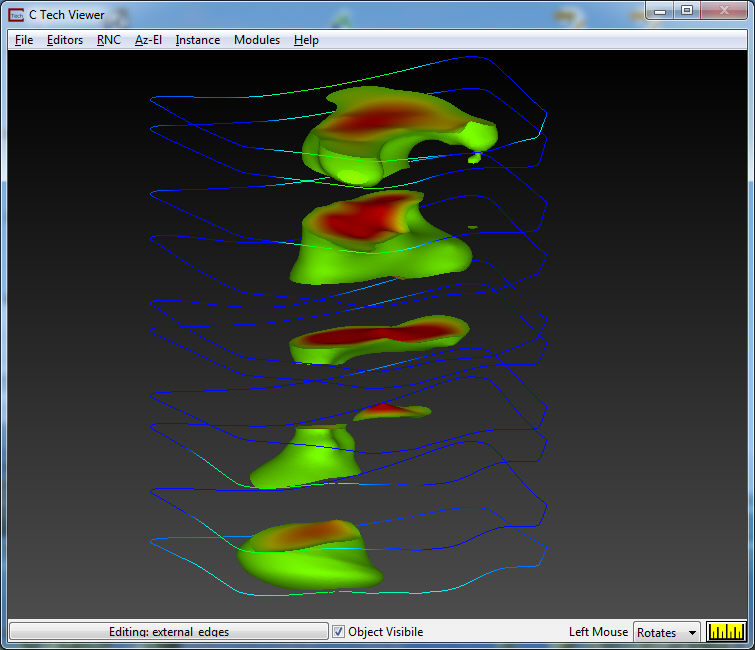
Verify your Az-El settings and set the view to Elevation 12 degrees, Scale 0.7 and Azimuth 210.
Your view should look like this:
© 1994-2018 ctech.com