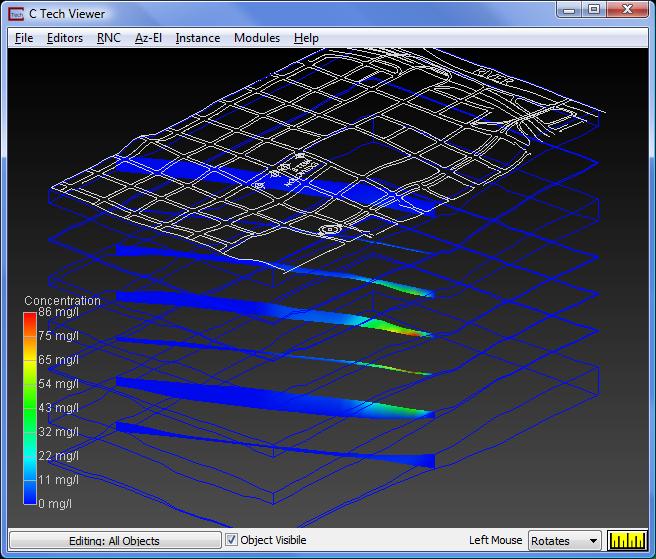
Adding a cut plane to this application allows us to visualize the concentrations inside of the simulated plume. Before we add a cut plane though, let's first slice. You might ask what is the difference between a cut and a slice. In our terminology, cutting through a volume yields a subset of the volume (but still a volume). Slicing a volume yields a planar object. In other words, cutting preserves dimensionality, slicing reduces it by one.
1. Start by deleting plume_shell.
2. Instance the slice_easting module from the Subsetting library and position it between Explode_and_Scale and the Viewer.
3. Connect the blue output port on Explode_and_Scale to the input port on slice_easting.
4. Connect the rightmost (red) output port on slice_easting to the Viewer and to the Legend module.
5. Open slice_easting's control panel and uncheck "Head" and check "Concentration" in the Map Components section.
Set your view (Az-El) parameters to Scale = 1.2, Elevation = 25, and Azimuth = 75. The image in the viewer now shows a vertical slice through our model:

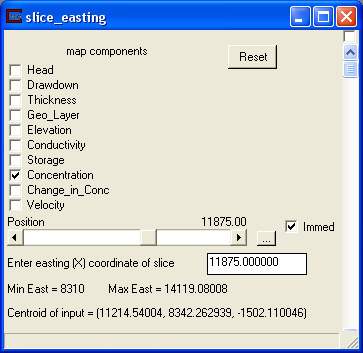
Now open the slice_easting's control panel and turn on the Immed(iate) toggle and start moving the slice plane by changing the Position slider. With a little playing you'll find the center of our plume is at about 11875. Set your slice to be at an x coordinate (easting) of 11875 as shown below.
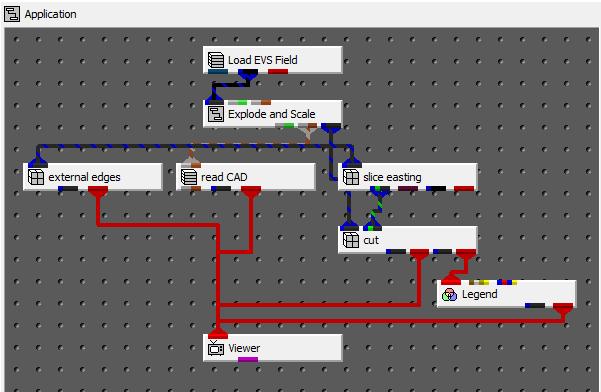
EVS (MVS) has a simple way to "cut" through a model where we have a slice plane. Instance a cut module and connect it as shown below. Open the cut module's control panel and select the External Cut Plane toggle. Also, uncheck "Head" and check "Concentration" under the Map Components in cut.
The image in the viewer now shows a vertical cut through our model (not just the plume.yet):
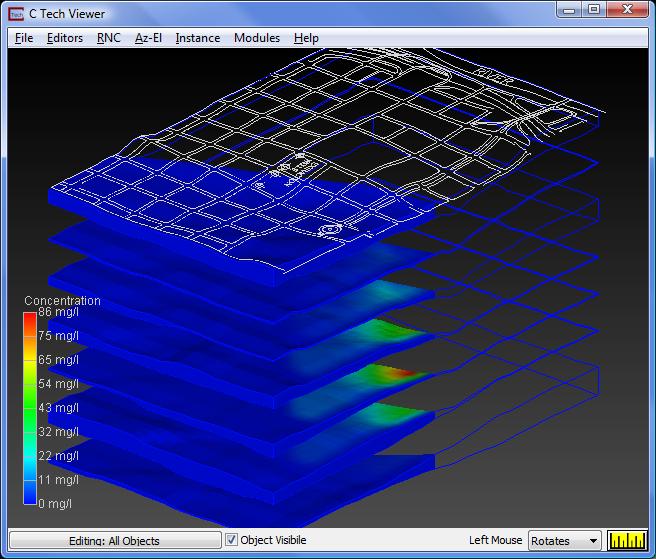
If we turn off the "Above" toggle, we'll see the other "half" of the model. Do that now.
We now want to see the plume (all regions above 0.1 mg/l) after cutting. To do this disconnect cut from the viewer and instance a plume_shell module and connect it as shown below.
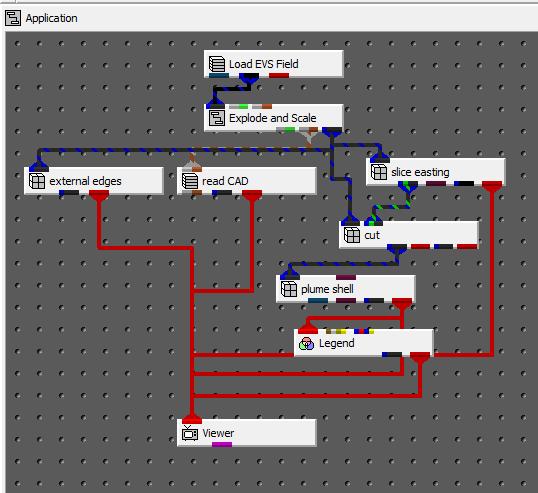
Set your view (Az-El) parameters to Scale = 1.2, Elevation = 25, and Azimuth = 60.
Also change the Subsetting Level in plume_shell to .1 and turn on the Remove Normals Generation toggle.
The image in the viewer now shows a cut-away of the plume:
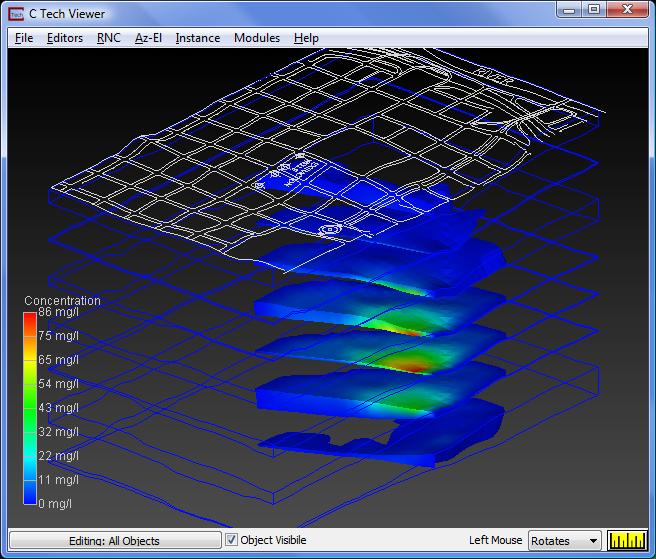
The application has been saved as ctech\applications\Workbooks\modflow_mt3d.v.
© 1994-2018 ctech.com